This
is a collection of the lessons I recently learned when preparing to use Adobe
Connect breakout rooms in preparation for a small group activity which was part
of the TLT MOOCOW, Teaching Online for Beginners, tlt.gs/TOL4B
(10/18/13)
Three very general pieces of advice. One, give yourself lots
of time for group work. Two, practice several times before using this feature.
Three, take time to clarify instructions at the onset: verbal and visual.
Preparation
Strategies We used breakout room facilitators. We met several times:
·
Went over the small group activity, directions
and various individual group member roles.
·
Practiced moving from the main room layout to
the small group layout.
·
Work with the facilitators so they also know how
to send the host a chat message while within the breakout session.
NOTE: The best way to get the facilitators into groups is for them to be
presenters before moving breakout groups. Adobe will distribute each to a different
breakout room.
Participant
Orientation to New Features/Functions
Include some practice activities and or demonstrations using features that may be new to participants
such as writing on the Note Pod and activating microphones. Participants become
presenters when moved into breakout groups.
This gives them the ability to use the microphone. You may also want to develop and review guidelines
for regulating conversation especially if the group is large and if many have
mics such as raising your hand when you want to speak.
Activity
Directions and Breakout Room Functionality Review activity directions with the large
group in addition to including a slide with those same directions which will
display in the breakout rooms. Explain
how the groups were formed, random or selected.
Random is the easiest and fastest way especially for large groups. Warn
the participants before sending them into groups.
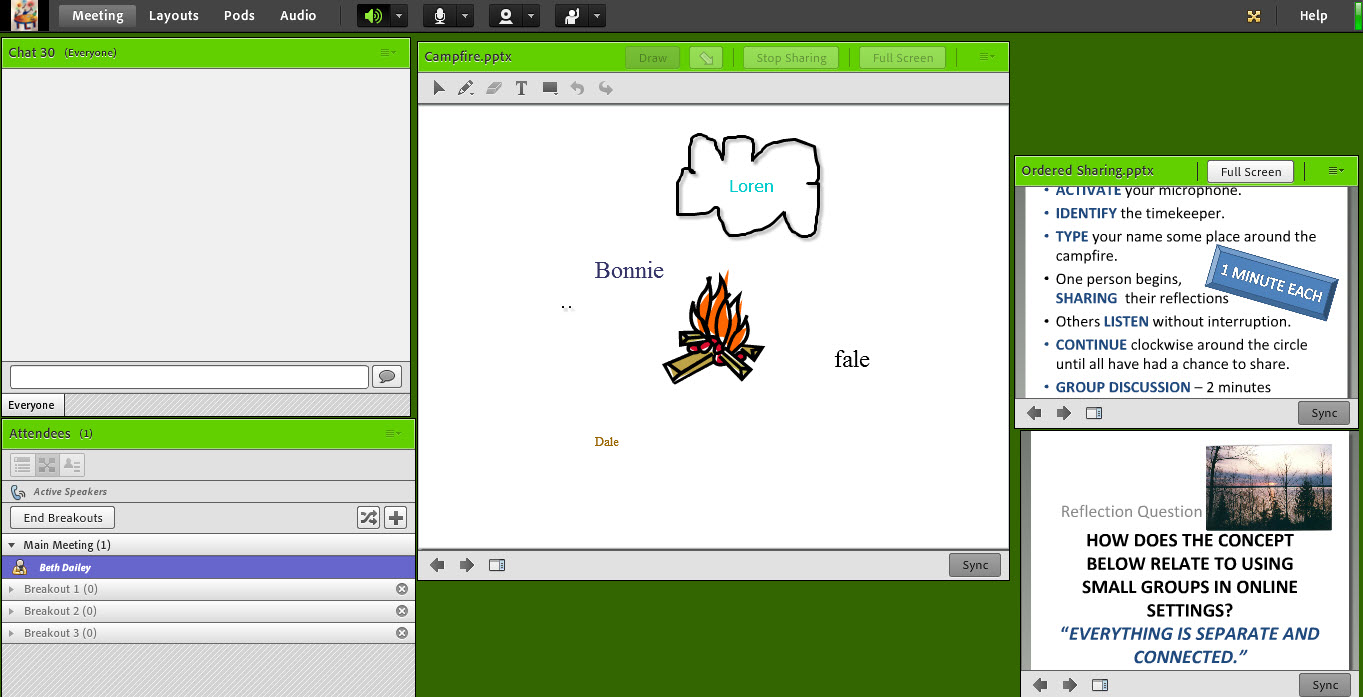
 Breakout Room Layout
I like creating a separate layout
for the breakout room activity that You will need to use very large font (30 -32,
at least) because the pod will be small.)
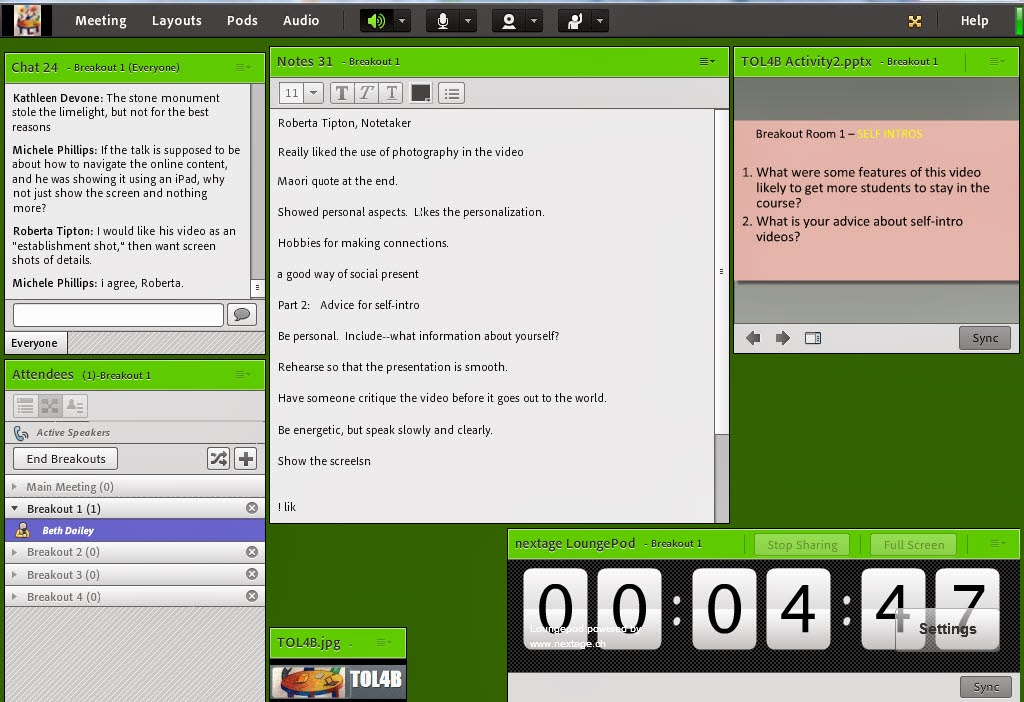
The chat pod was used to facilitate discussion for those without
microphones. The Note Pod was used for
the note taker/reporter to capture the highlights from discussion. If you include a place for the reporters name
at the top it will be quicker during the report to assign mic privileges to the
correct person. I am still experimenting with how to get the timer to
work. I think a countdown timer will
help the groups manage their time.
matches
what the groups will be doing. Below is the format we used. In addition to
the chat, attendee and note pod, I included a share pod where I uploaded a
slide with activity directions and participant roles.
Moving into Breakout Rooms
The
first step is to select the
breakout view from the Attendees Pod. You will then see the number of breakout
rooms. Three rooms is the default. You
can add additional rooms by clicking the

button.
The
second step is to move people into the rooms. The
easiest way to do this is to evenly distribute them from the main room. To do so press this button

You can also click and drag individuals to different rooms. This can and should be done prior to starting the breakouts.
Step three. If you
have a specific breakout room layout bring that layout up BEFORE moving into
groups. The groups will experience the
layout applied before moving into groups.
Step four. When you are ready to move to breakouts, give a
heads up and then press the
button. The hosts will remain in the main room
and can move themselves into various breakout rooms. It is good to check back in the main room
periodically. If someone comes late to
the session, they will enter the main room and you can then move them
individually into a room.
Breakout Room
Activity You may want to have a back-up reporter and several back-up
facilitators just I case.
Ending the
Breakout Session You have the ability to send a broadcast message that
will be viewed simultaneously by all groups.
It is good practice to give a five minute and 1 minute warning.
Group Report Out When
the groups report out you can open their white board while in the main room so
they can refer to their written summary.
You will need to give mic privileges to the reporter. If the reporters names is at the top of the
Note pod, this will be faster.
NOTE: If you are sending the participants back to the same
breakout groups, simply press the Start Breakouts button. If you want them in different groups then
press the random button.
Some Resources:
Adobe
Connect Breakout Rooms
***Adobe
Connect Tutorial: Breakout Rooms
Connect
Guru: Adobe Connect Pro Breakout Rooms
Using Adobe Connect 9
(pg. 61-70) http://help.adobe.com/en_US/connect/9.0/using/connect_9_help.pdf